
Please follow the steps below to allocate a sale to a Customer Account
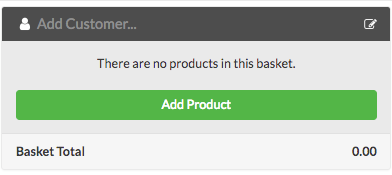
1. On the Till screen, navigate to and click on Add Product.
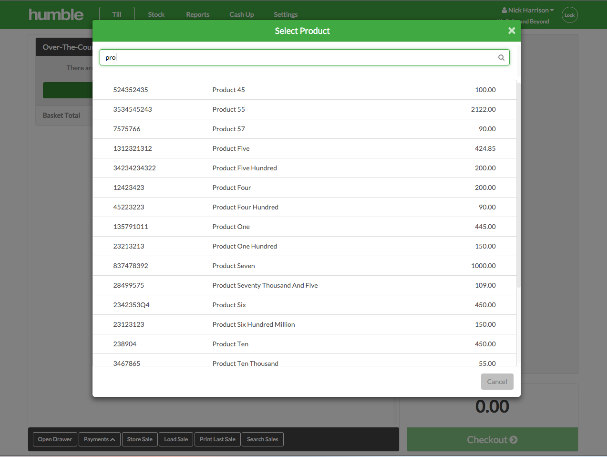
2. A list of all the available products within your store will appear. In the search box, type the name of the particular product you are looking for and click on that product.
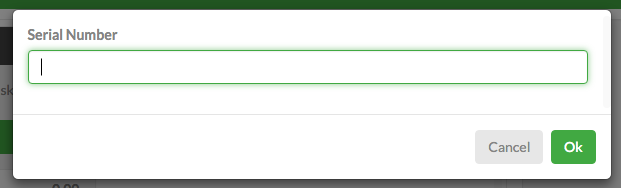
3. You can also scan the barcode of the product to add it to a basket. If you are selling a serial item, you will need to enter the serial number by typing or scanning it in.
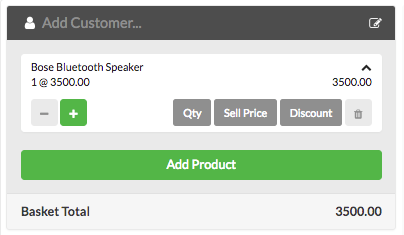
4. The chosen product will appear in the Basket for you to continue with your sale. If you need to remove an item from a sale, just click on the dustbin icon and it will be removed from the sale
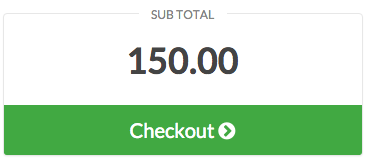
5. Once you have added all the products into the basket and you would like to complete the sale, navigate to and click on CheckOut, found at the bottom, right hand side of the page.
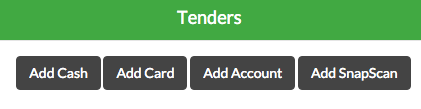
6. Confirm with the customer how they will be paying for the transaction. Click on Add Account for customer account sales
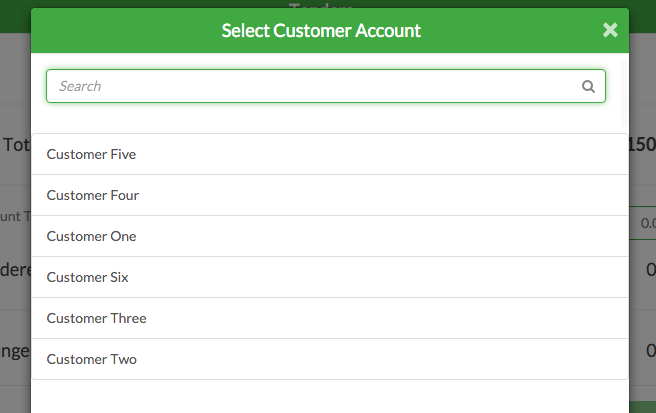
7. A list of your customers will appear. You can select the customer from the list or type the name in the search box to bring up the customer you're looking for.
8. Once the customer is selected, the Customer name will appear on the tender screen with the tender amount. The humble till signals that you can complete the sale by changing the colour of the Complete Sale button from pale green to solid green.
8. Once the customer is selected, the Customer name will appear on the tender screen with the tender amount. The humble till signals that you can complete the sale by changing the colour of the Complete Sale button from pale green to solid green.
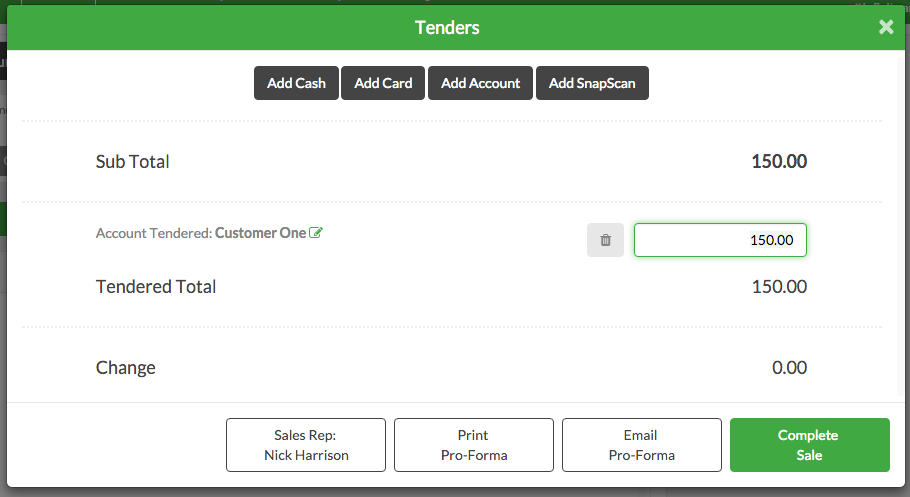
9. Once the sale has been correctly tendered out, click on Complete Sale

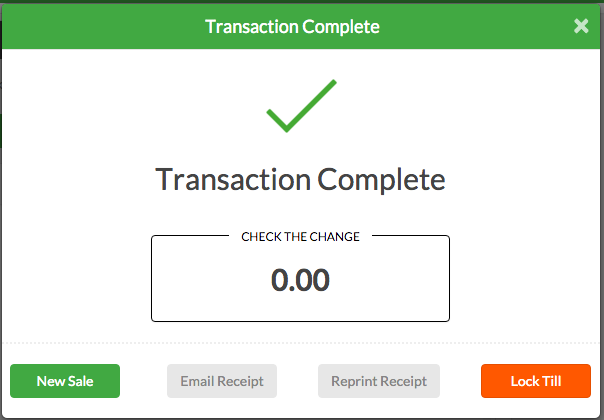
10. You will be directed to the Transaction Complete screen where you can select options to either begin a New Sale, Email Receipt to the customer, Reprint Receipt or Lock Till.
0 Comments