Follow the below steps to pair your Star Micronics TSP 654 Bluetooth Printer with your humble Till.
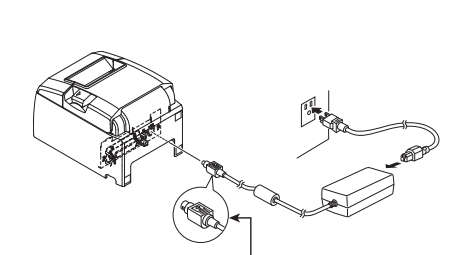
Connect the AC adapter to the power cord, followed by connecting the AC adapter to the connector on your printer. Lastly, insert the power cable plug into a wall plug.
Connect the AC adapter to the power cord, followed by connecting the AC adapter to the connector on your printer. Lastly, insert the power cable plug into a wall plug.
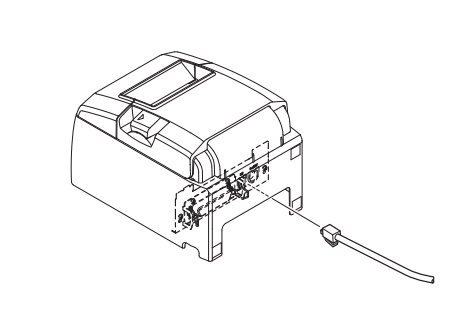
Connect the RJ45 Connection plug from the cash drawer to the back panel of the printer.
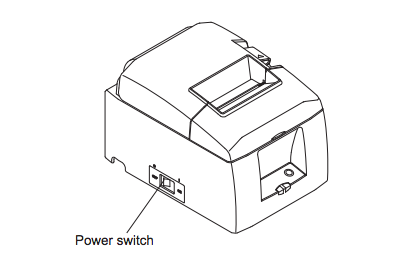
Turn on the power switch, which is on the left hand side of the printer. The POWER light on the front control panel will light up.
After turning on the printer, press and hold the PAIR button on the back of the printer for 5 seconds, and then release it. An LED on the back will begin to flash green.
Pairing to a device will be possible for 60 seconds from when the LED begins flashing green.
Pairing to a device will be possible for 60 seconds from when the LED begins flashing green.
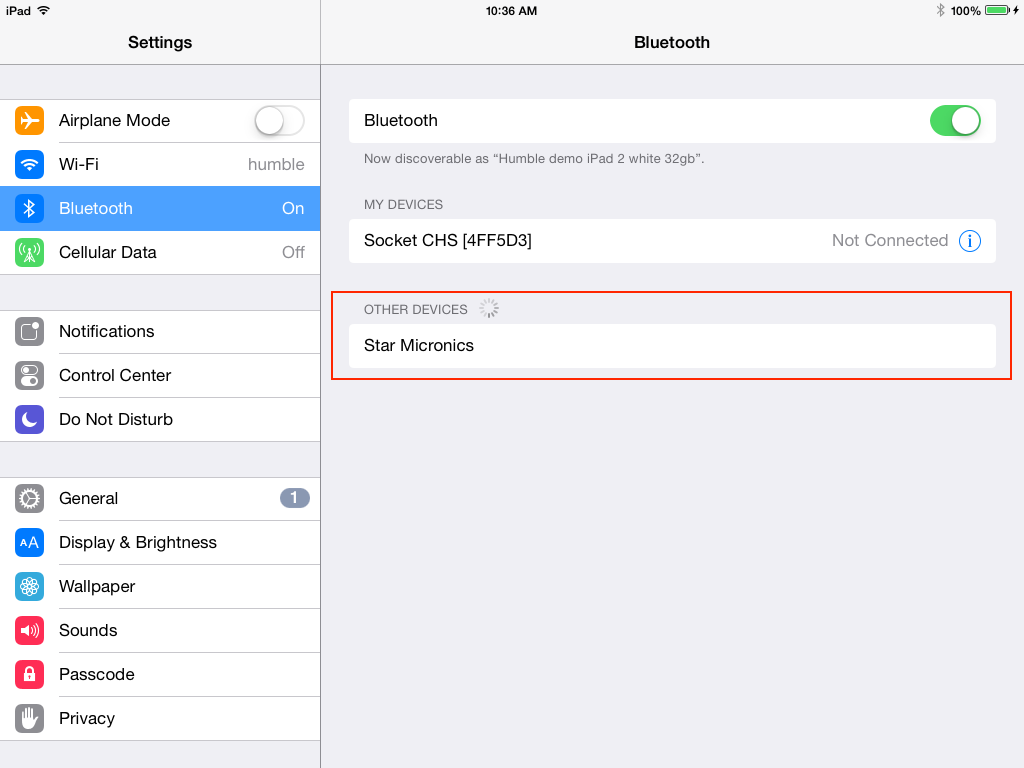
During this time, navigate to the Settings Tab on your iPad, followed by clicking on the Bluetooth Tab on the left hand side of your screen.
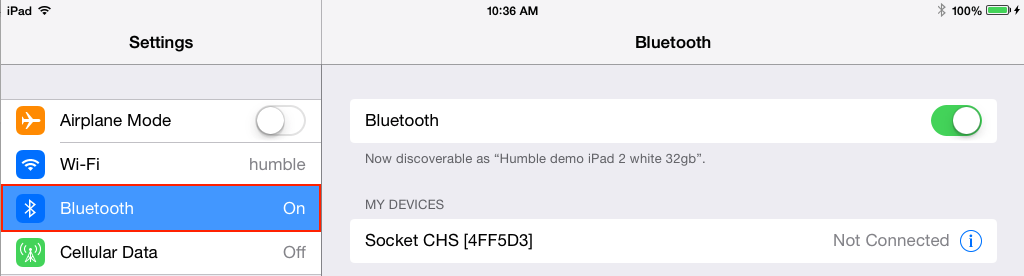
Search for the default printer name: Star Micronics and click on the device line. The Star Micronics line will show "Connected" when the printer and iPad have paired successfully.
The LED on the back of the printer will turn to blue.
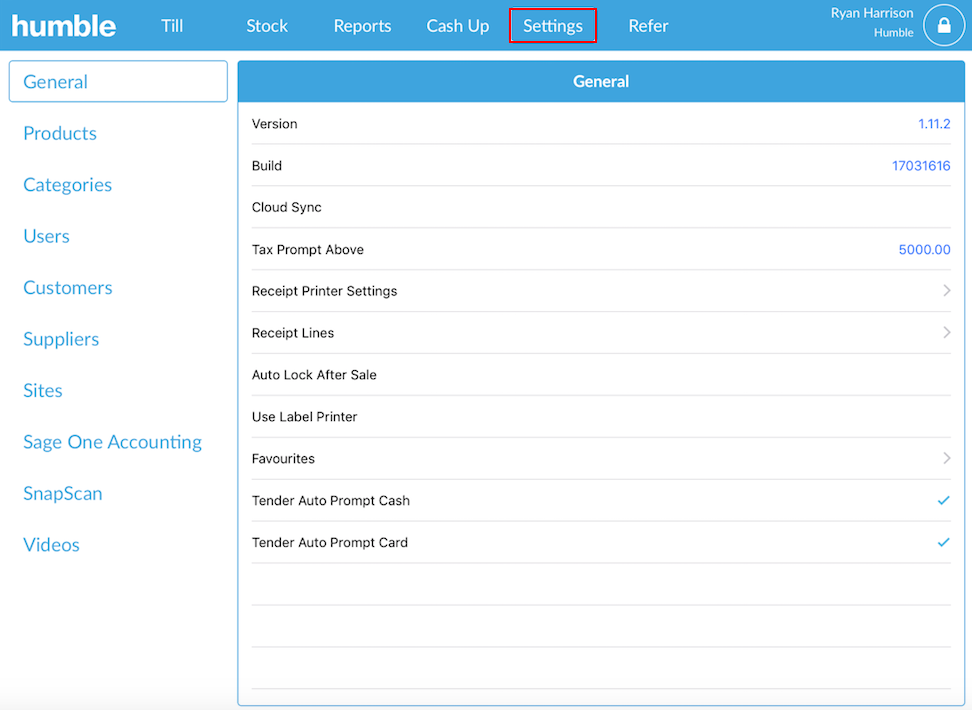
Once you have successfully paired your iPad with your Printer, click on the humble Till App followed by clicking on the Settings Tab on the top right hand of the humble Till.
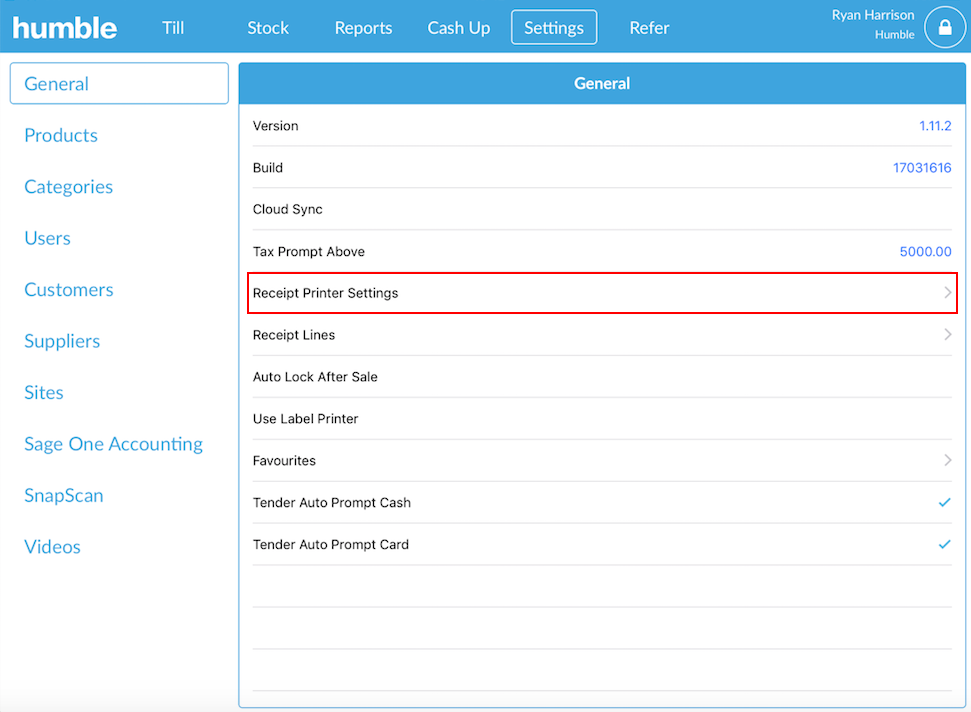
Once in the Settings Tab, click on General and navigate to and click on Receipt Printer Settings.
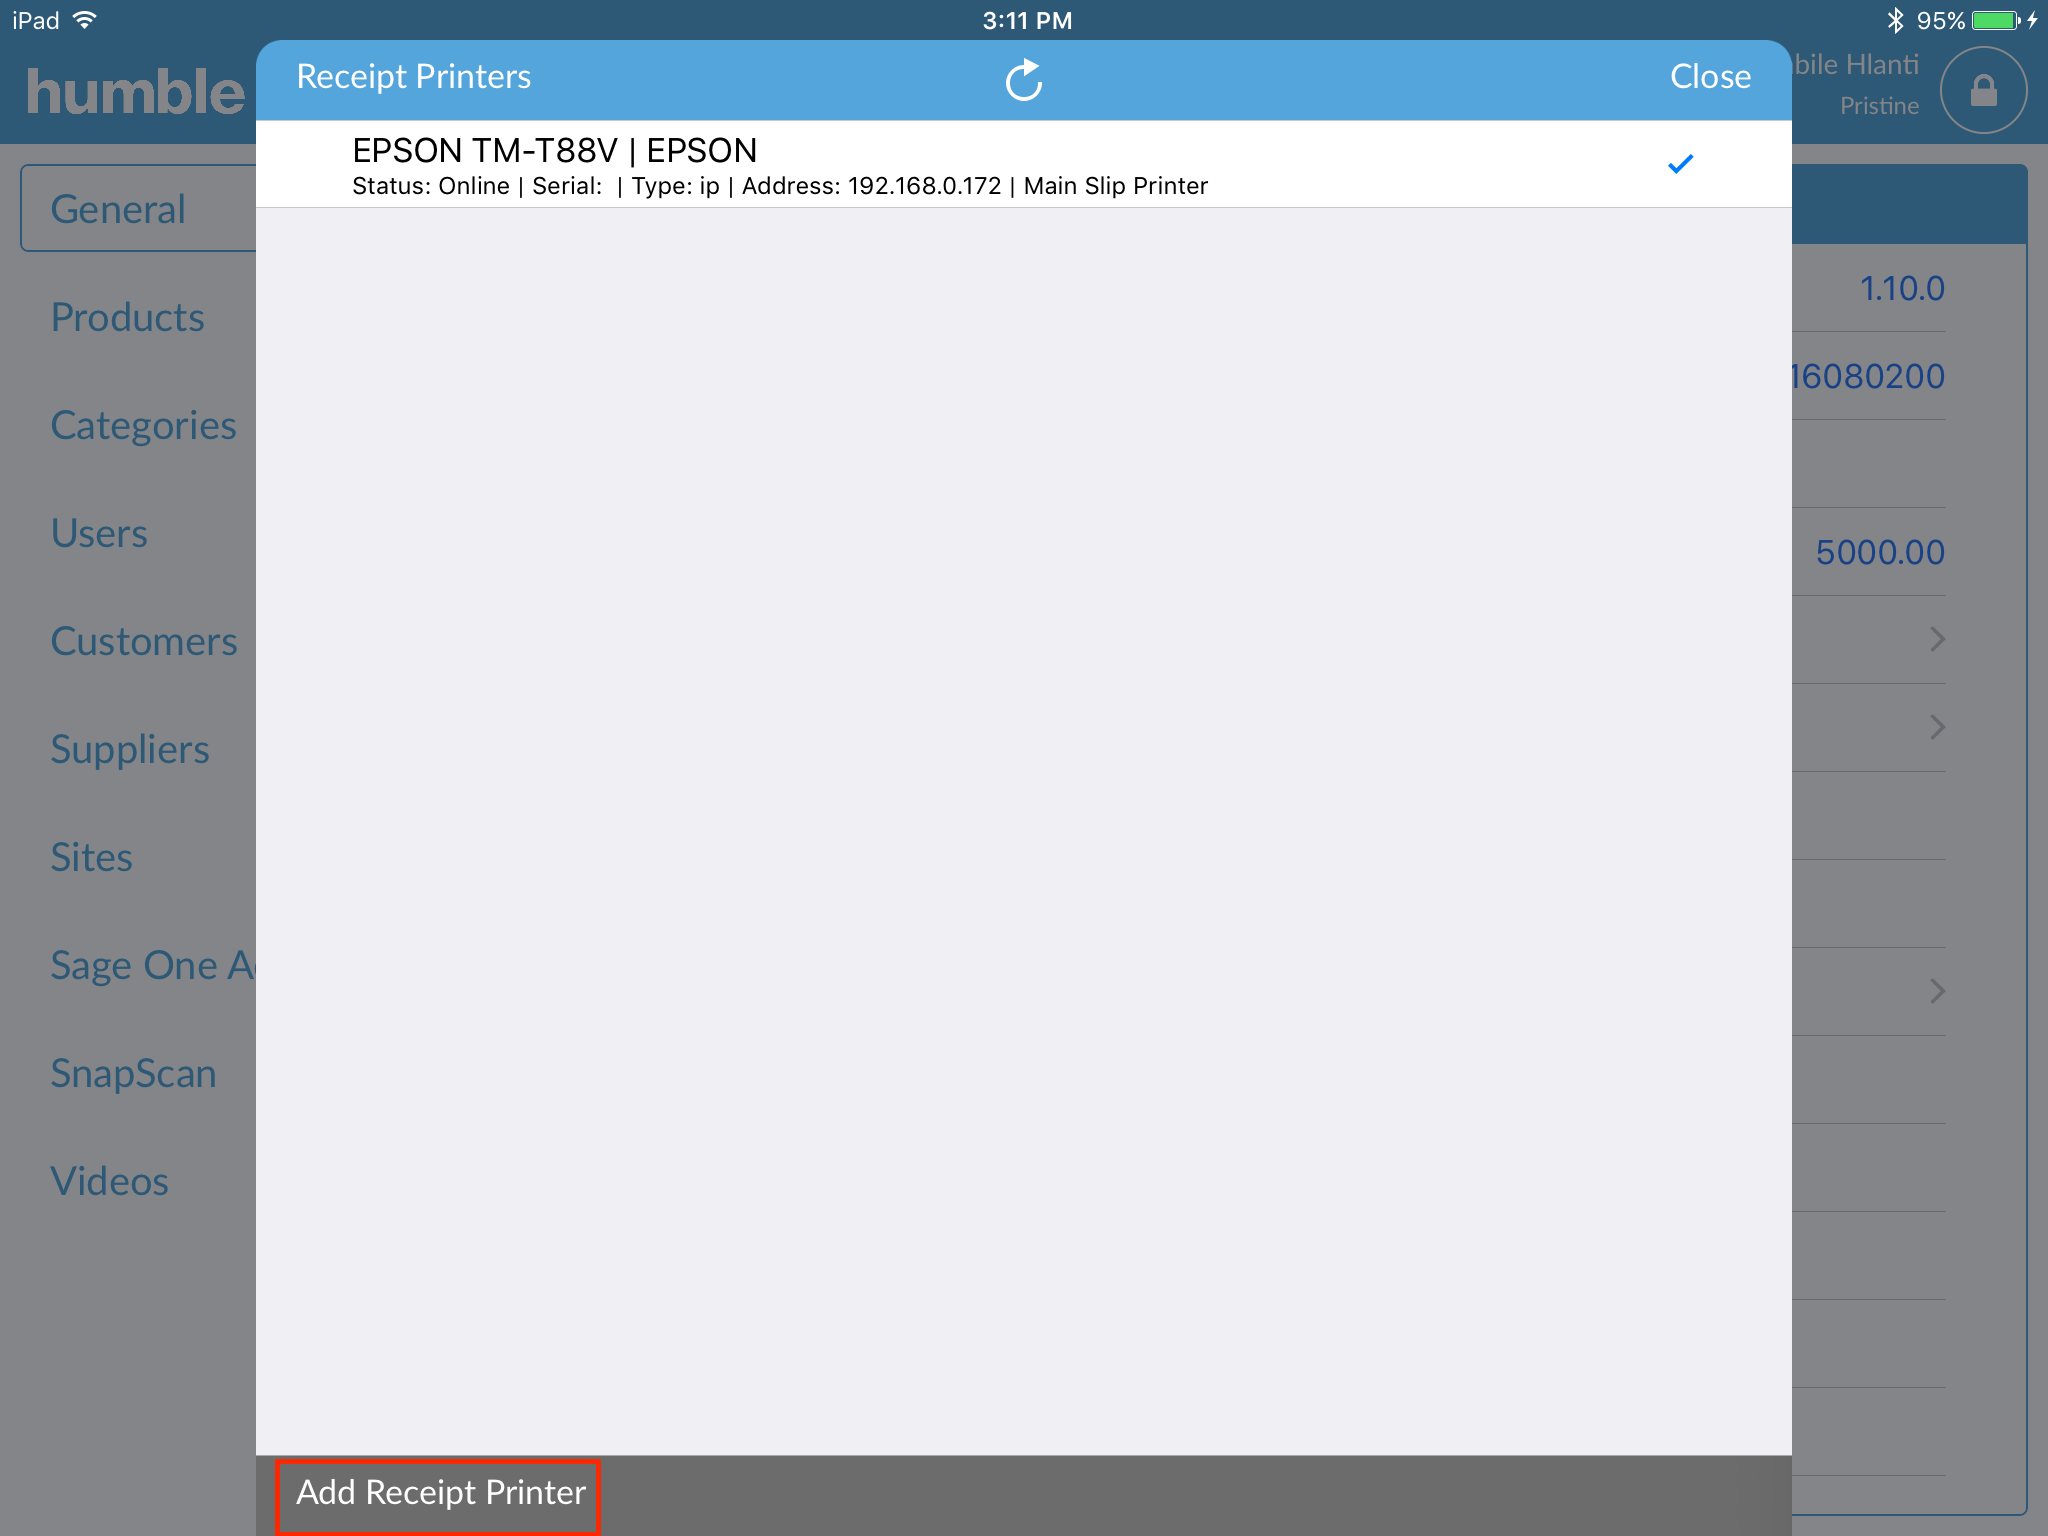
Once you have clicked on Receipt Printer Settings, you will need to select the Receipt Printer tab. A list of the available printers on the network will appear. Tap on Add Receipt Printer in the bottom left corner of the screen.
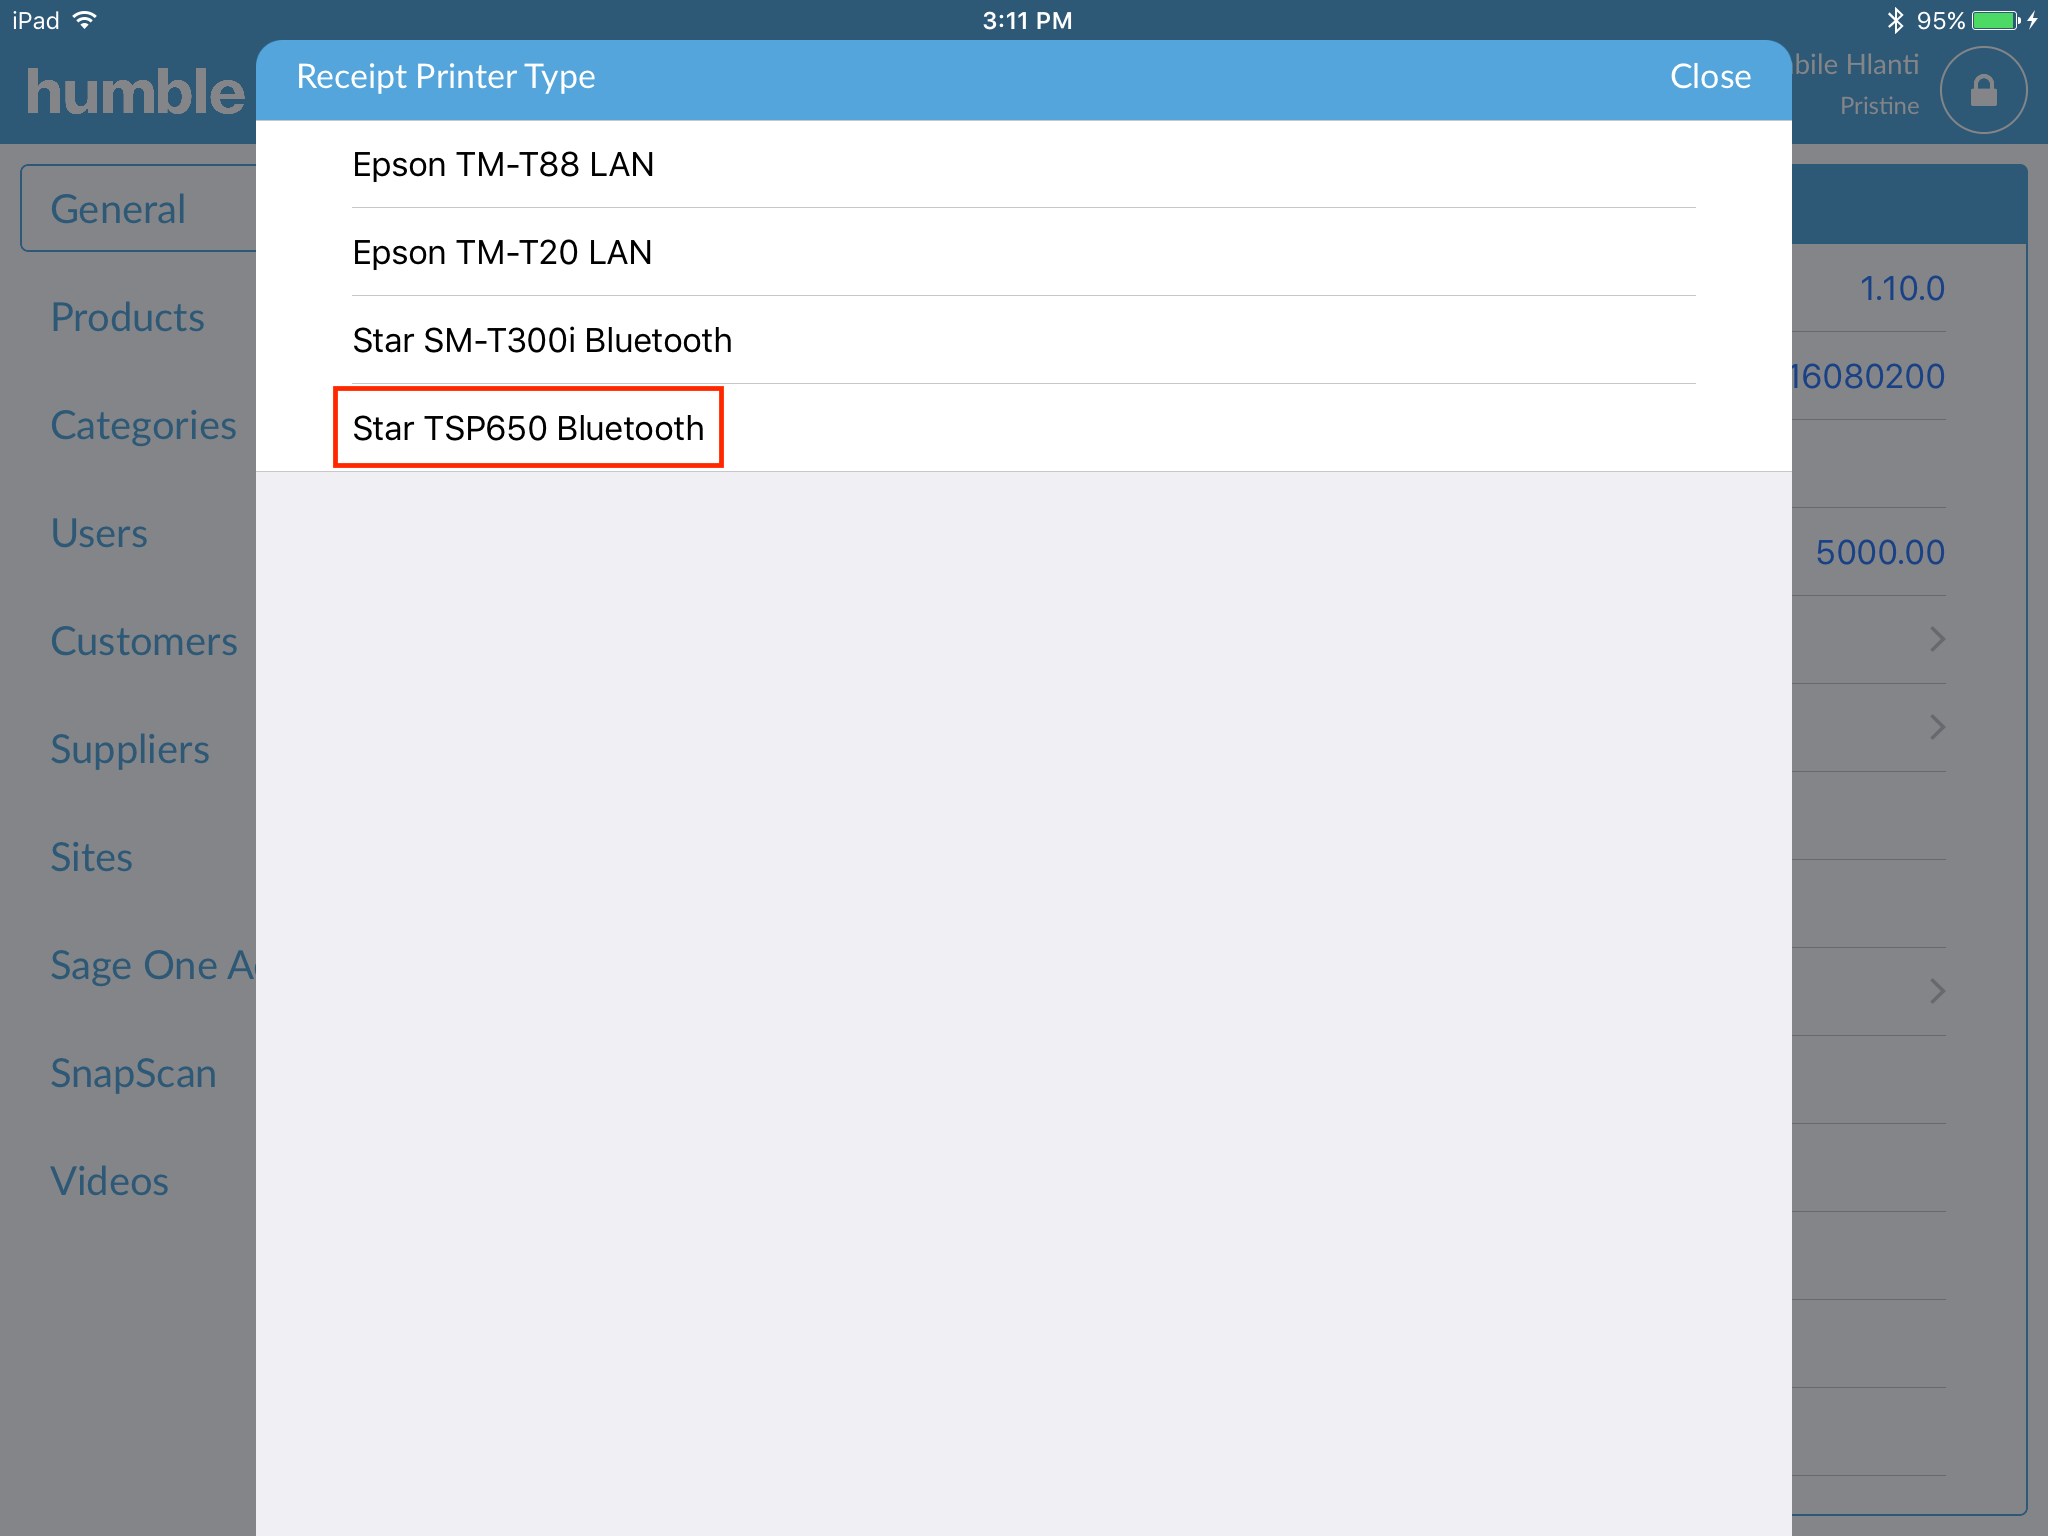
Click on the Star TSP650 Bluetooth from the list that will appear.
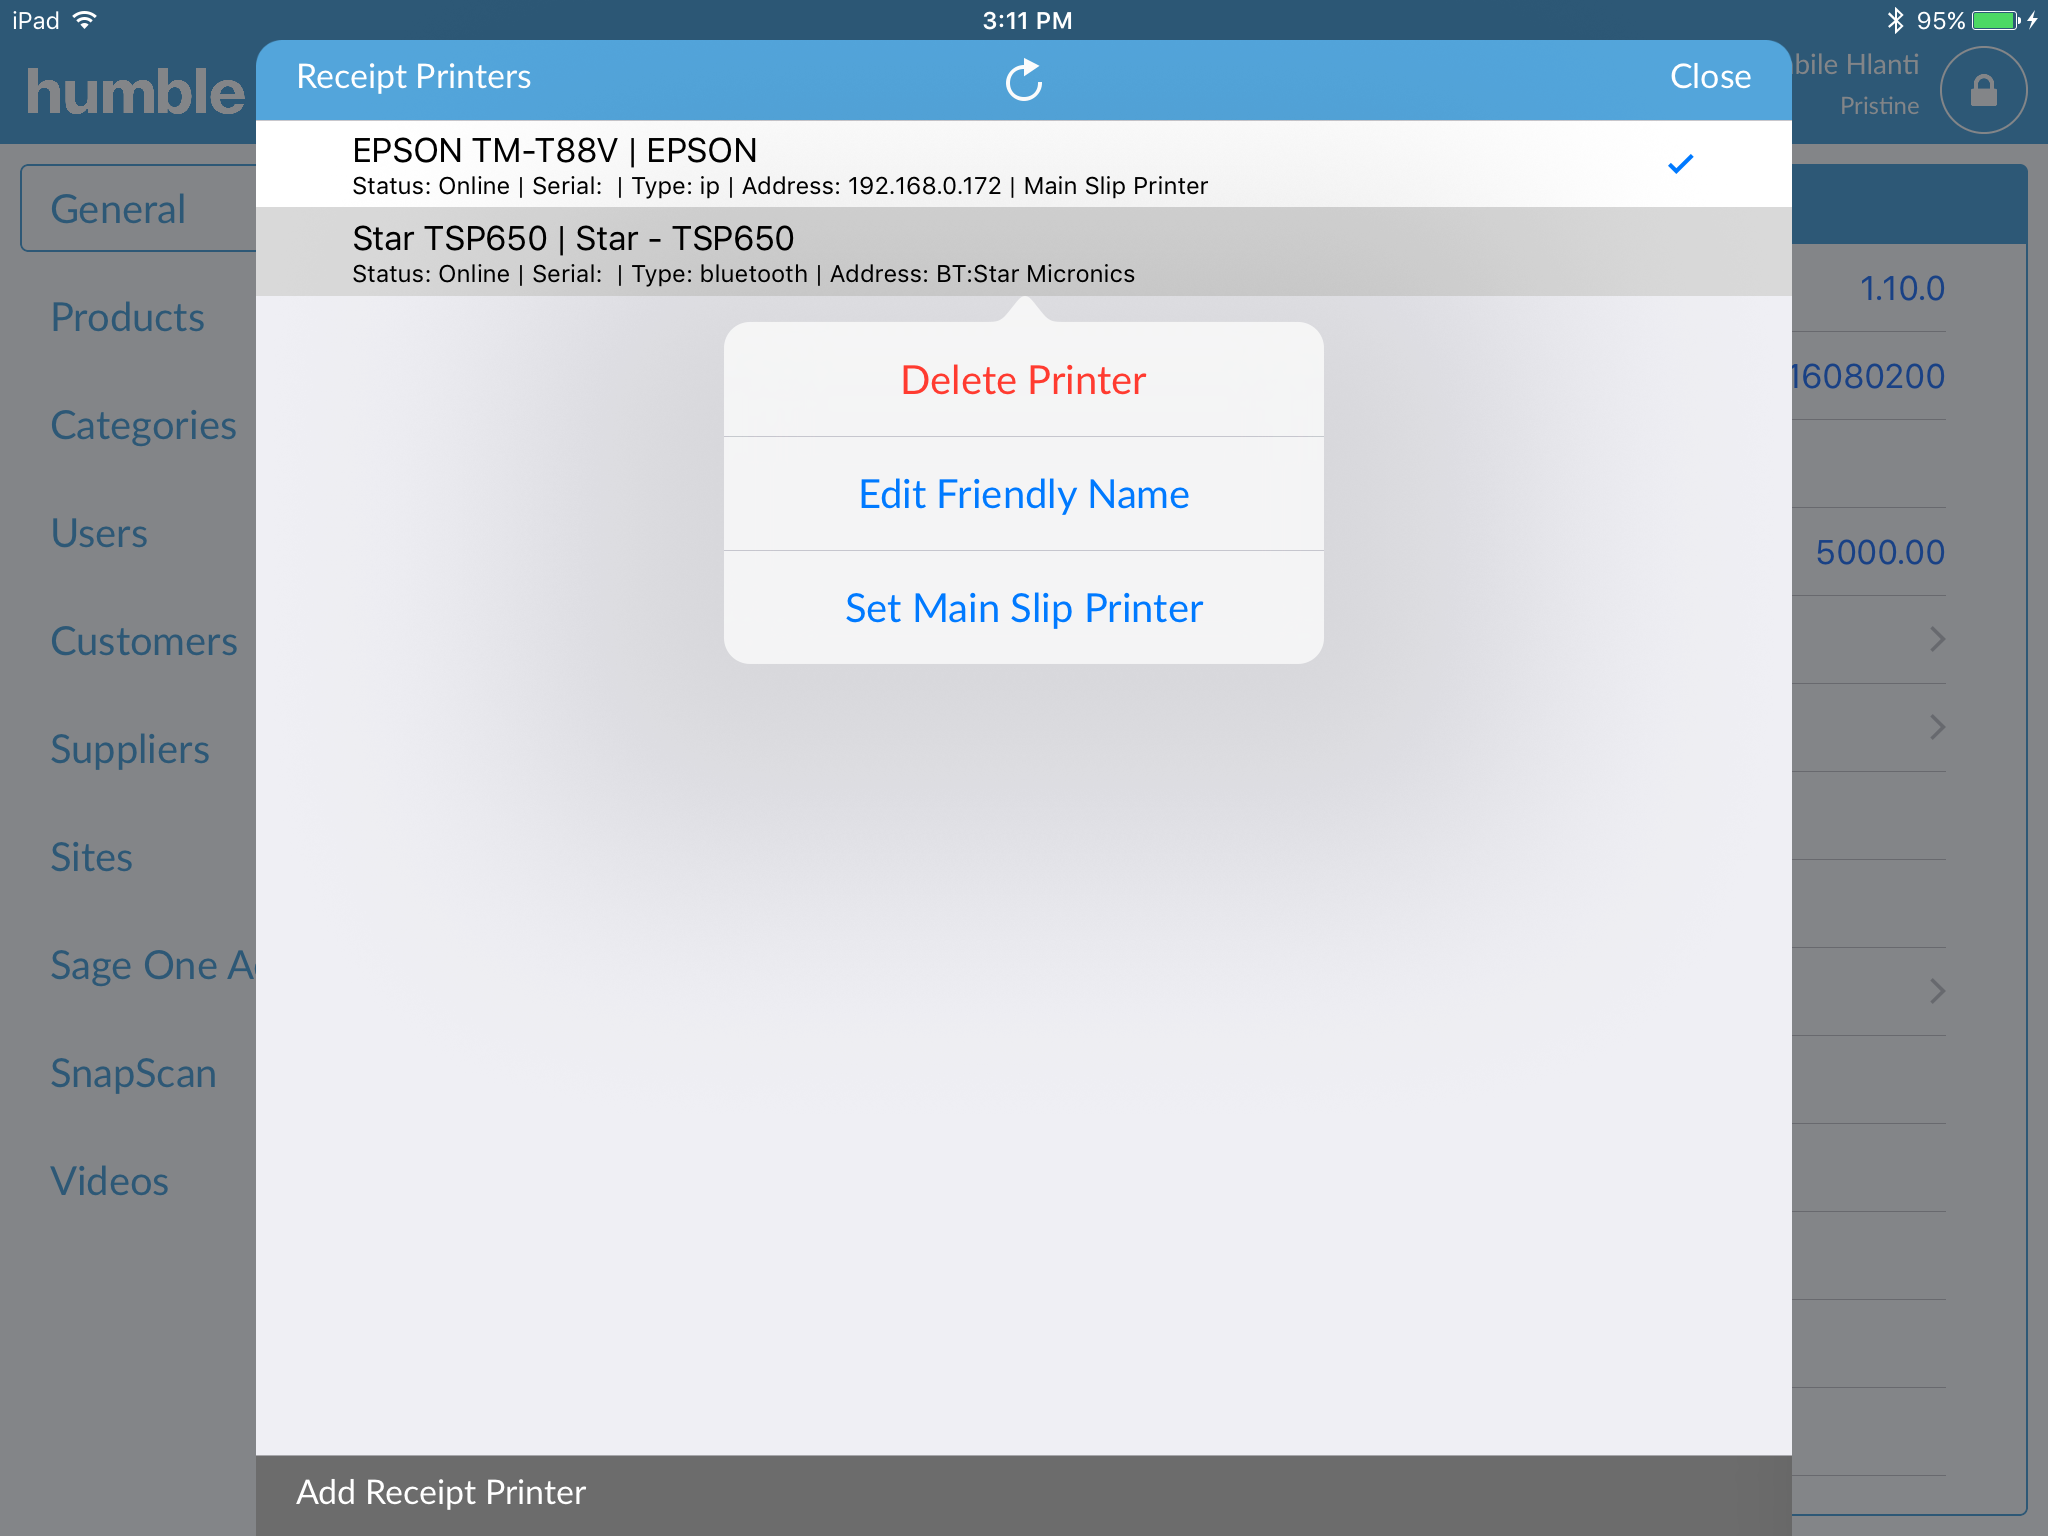
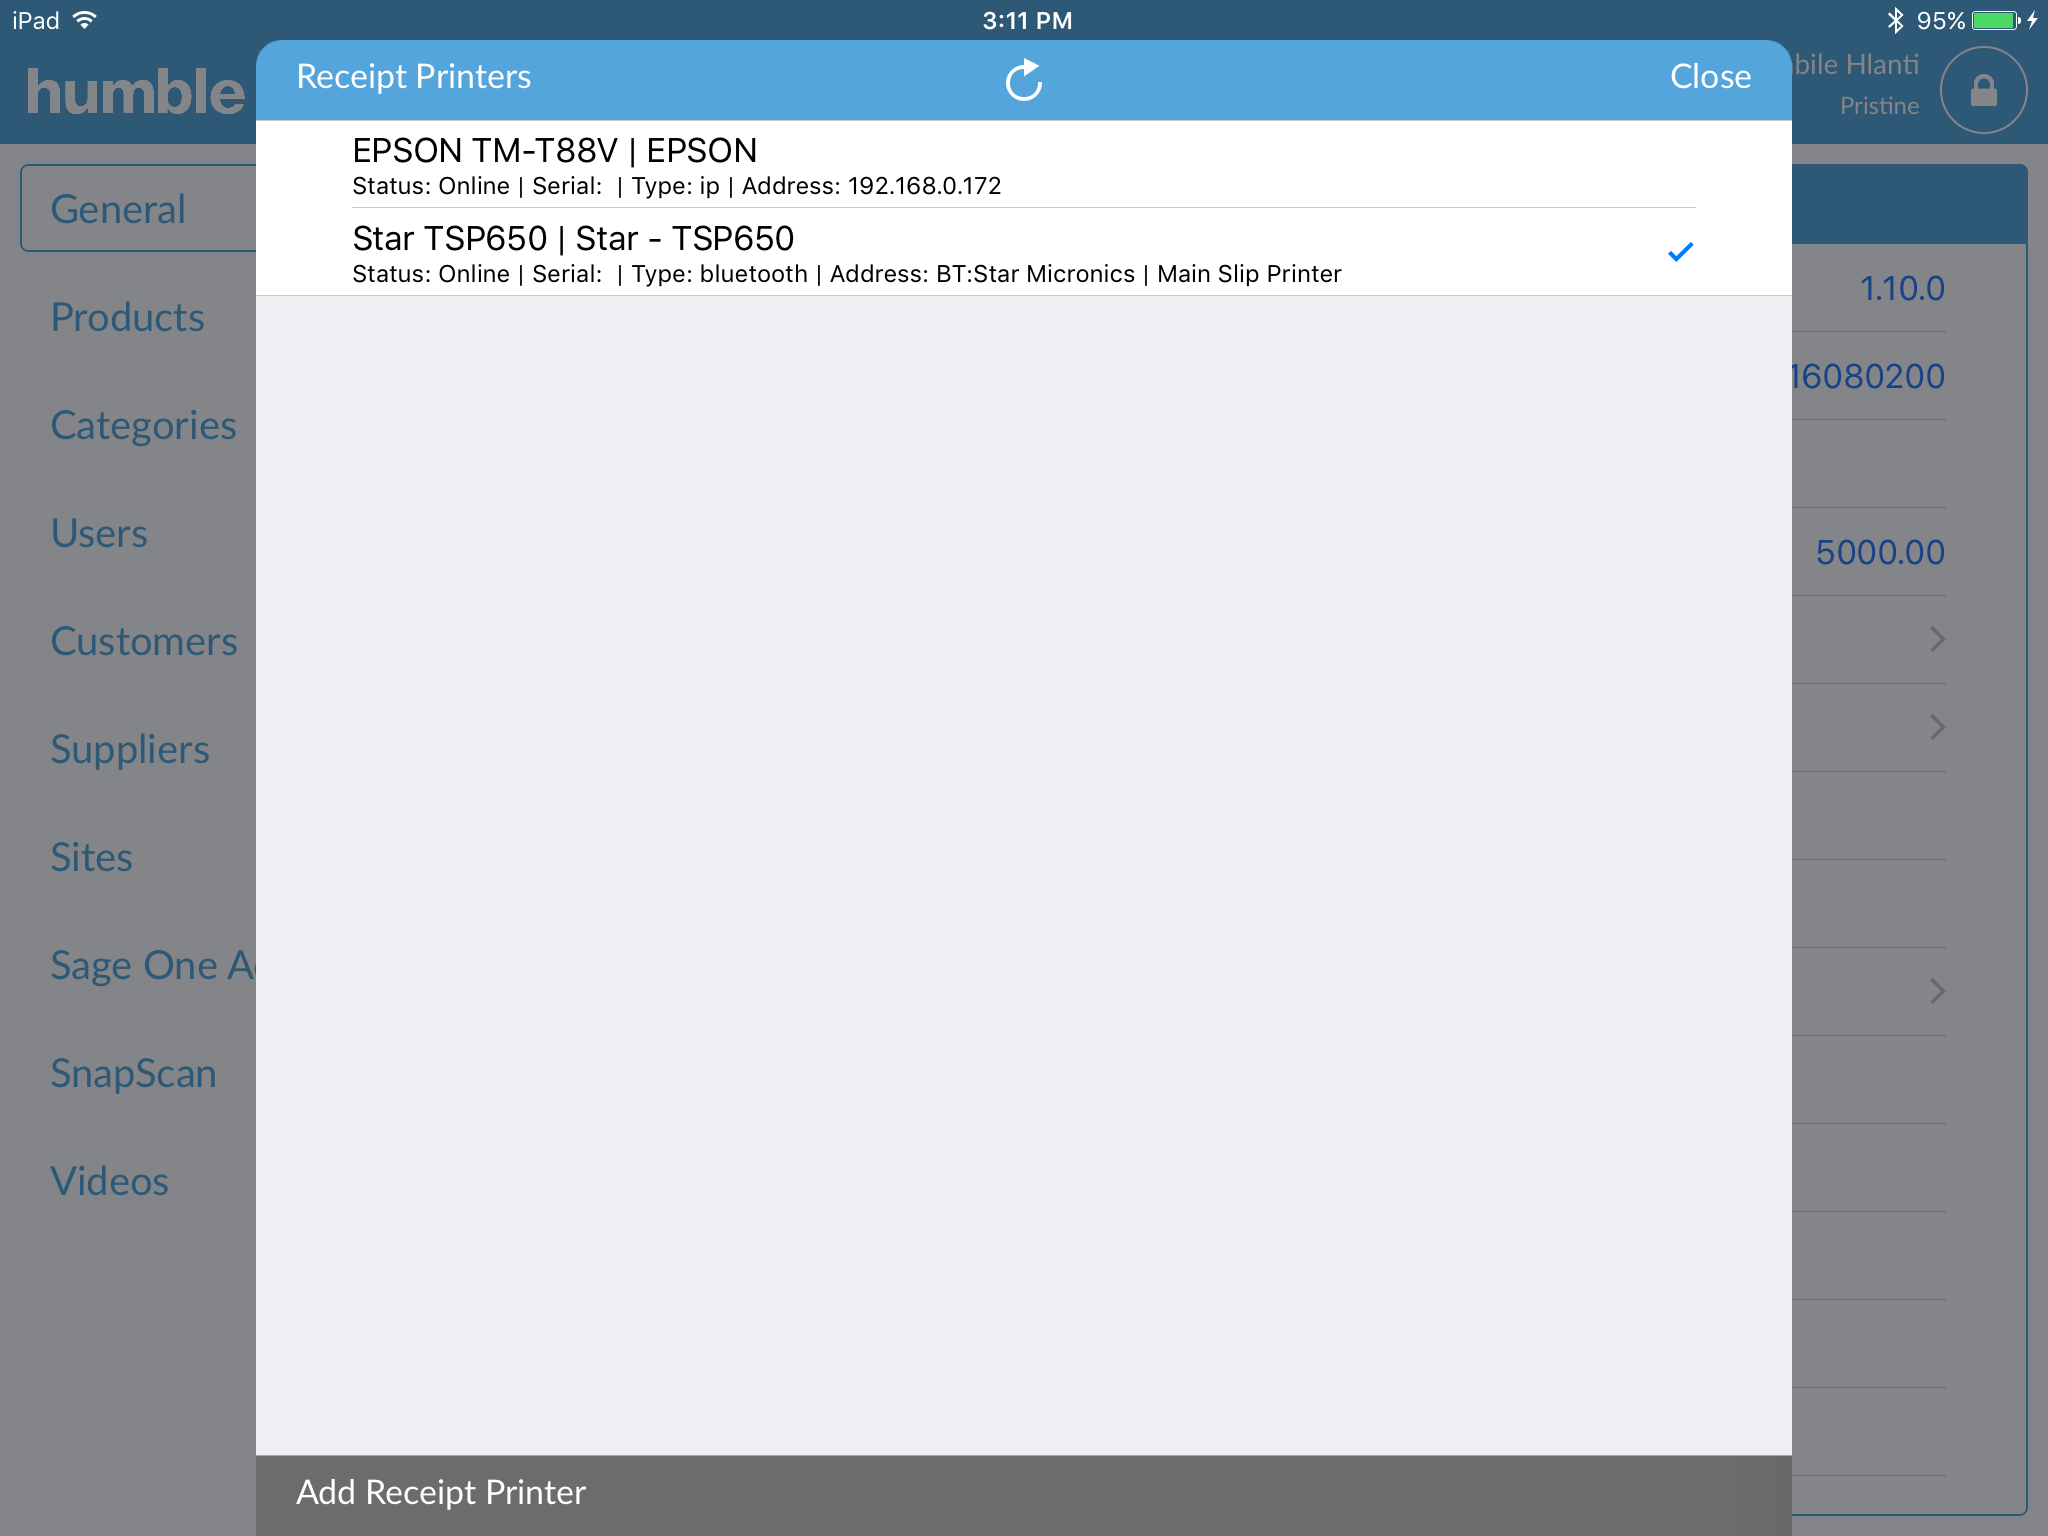
When the printer appears on the screen, tap on the printer name and select "Set Main Slip Printer" in order to save the Star Micronics Bluetooth as your default printer.
Your printer is now connected to the humble Till and you are ready to print receipts.
Please ensure that you have Use Receipt Printer ticked as well Use Cash Drawer ticked on the Receipt Printer Settings screen.
If you need help or have any questions, please don't hesitate to contact our support team on support@humbletill.com
0 Comments